Today we are going to discuss what signs may signal that your vaping equipment needs to be cleaned, what the benefits of a clean device are and ultimately go through a step-by-step guide on how to clean your vape kit thoroughly.
Most E-liquids when vaporised leave behind residue within the inner-linings of the tank and coil, this can make the device unhygienic and potentially causes issues whenever the vape juice is replaced.
Additionally, in response to Covid 19, the Government along with numerous health professionals have recommended vapers take special precautions that will reduce the risk of contracting the virus. One of their main guidelines is to make sure that the vape kit is clean. This is due to the constant hand-to-face movements involved with this activity.
To help you stick to this instruction and get the very best from your vaping experience, we have created this blog article to inform you of advantages of a clean device, indications that it needs cleaning and what steps are involved in the process.
Benefits of keeping your Vape Kit clean
Ultimately, vaping from a clean device means you get to enjoy the very best flavours from your favourite vape juice!
It will extend the longevity and efficiency of your vape tank and coil.
Clearing the remains from the previous E-liquid, will prevent air vents from clogging up, reduce the probability of the device overheating and create an ideal environment for adding the next vape juice into the tank.
As mentioned earlier, keeping your vape kit clean will help lower the risk of getting a respiratory illness.
Signs your Vape Kit needs cleaning
By sight, if you physically see sticky debris along the surface of the tank or hanging around the circumference of the coil, then you should at least give your kit a rinse.
By smell, if an unpleasant odour is emitted from the device, then it may be worth cleaning it before replacing it completely.
By taste, whenever you experience a burnt aroma or unwanted flavours from the previous E-Liquid, then it may be worth establishing a cleaning routine to prevent this from happening again.
You experience a decrease in vapor production. This could be due to a blockage in the coil.
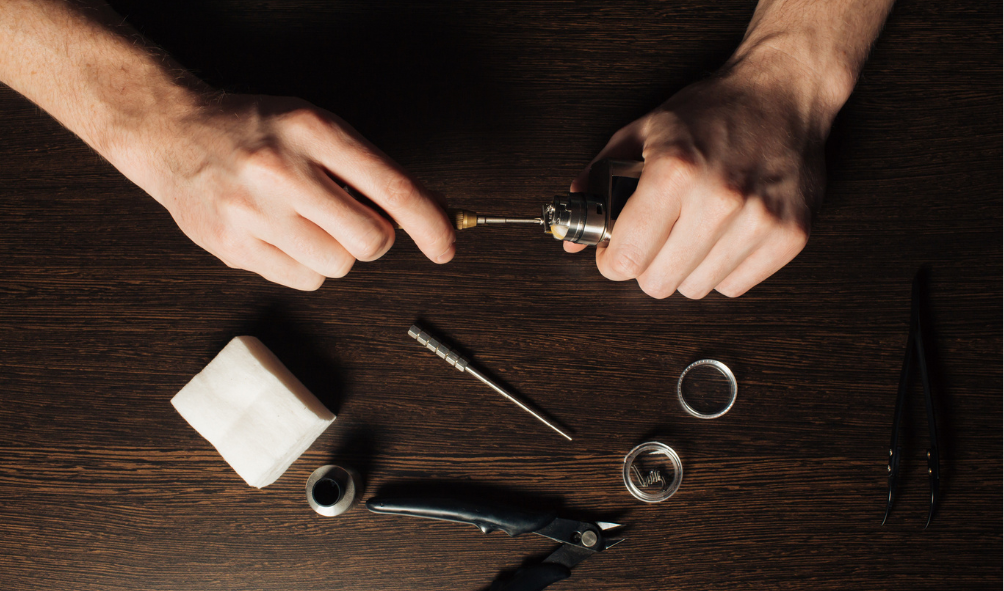
The Steps involved in cleaning your Vape Kit

Step 1 : Carefully dismantle your device, making sure you remember how all the different parts connect to one another. Tip the vape tank over the sink and delicately shake out any leftover E-Liquid.
Step2 : This stage involves washing the tank and coil, it can be performed using either luke-warm water or unflavoured alcohol (vodka is typically preferred).
Place the vape tank and coil directly under the faucet and run tepid water through it for roughly 30 seconds to rinse out any excess vape juice. This is an ideal method for regular and quick cleaning.
Alternatively, using high-proof alcohol is perfect for a thorough clean as it sterilises the equipment to a higher level. To do this, use either a microfiber cloth or a soft paper towel to strategically clean through the intricate grooves and surface areas of both the tank and coil. Once stubborn and sticky substances have been adequately removed, give each piece a rinse with warm water.
Step 3 : Use a piece of kitchen roll to run through the tank to collect any water droplets and gently pat the coil dry.
Step 4 : The final phase is the easiest. Let all the pieces air dry in a secure environment for at least 15 minutes (preferably overnight). Please do not place the kit under direct sunlight or use an electrical device such as a hairdryer to speed up the drying process as this may cause damage to the equipment.
During the cleaning process, you may notice that you may have to replace your vape kit, tank or coil. You may also want to explore new and exciting E-liquid flavours. Online at our UK ECIG STORE, you will find a wide selection of vaping products.